Photonic Science Laue
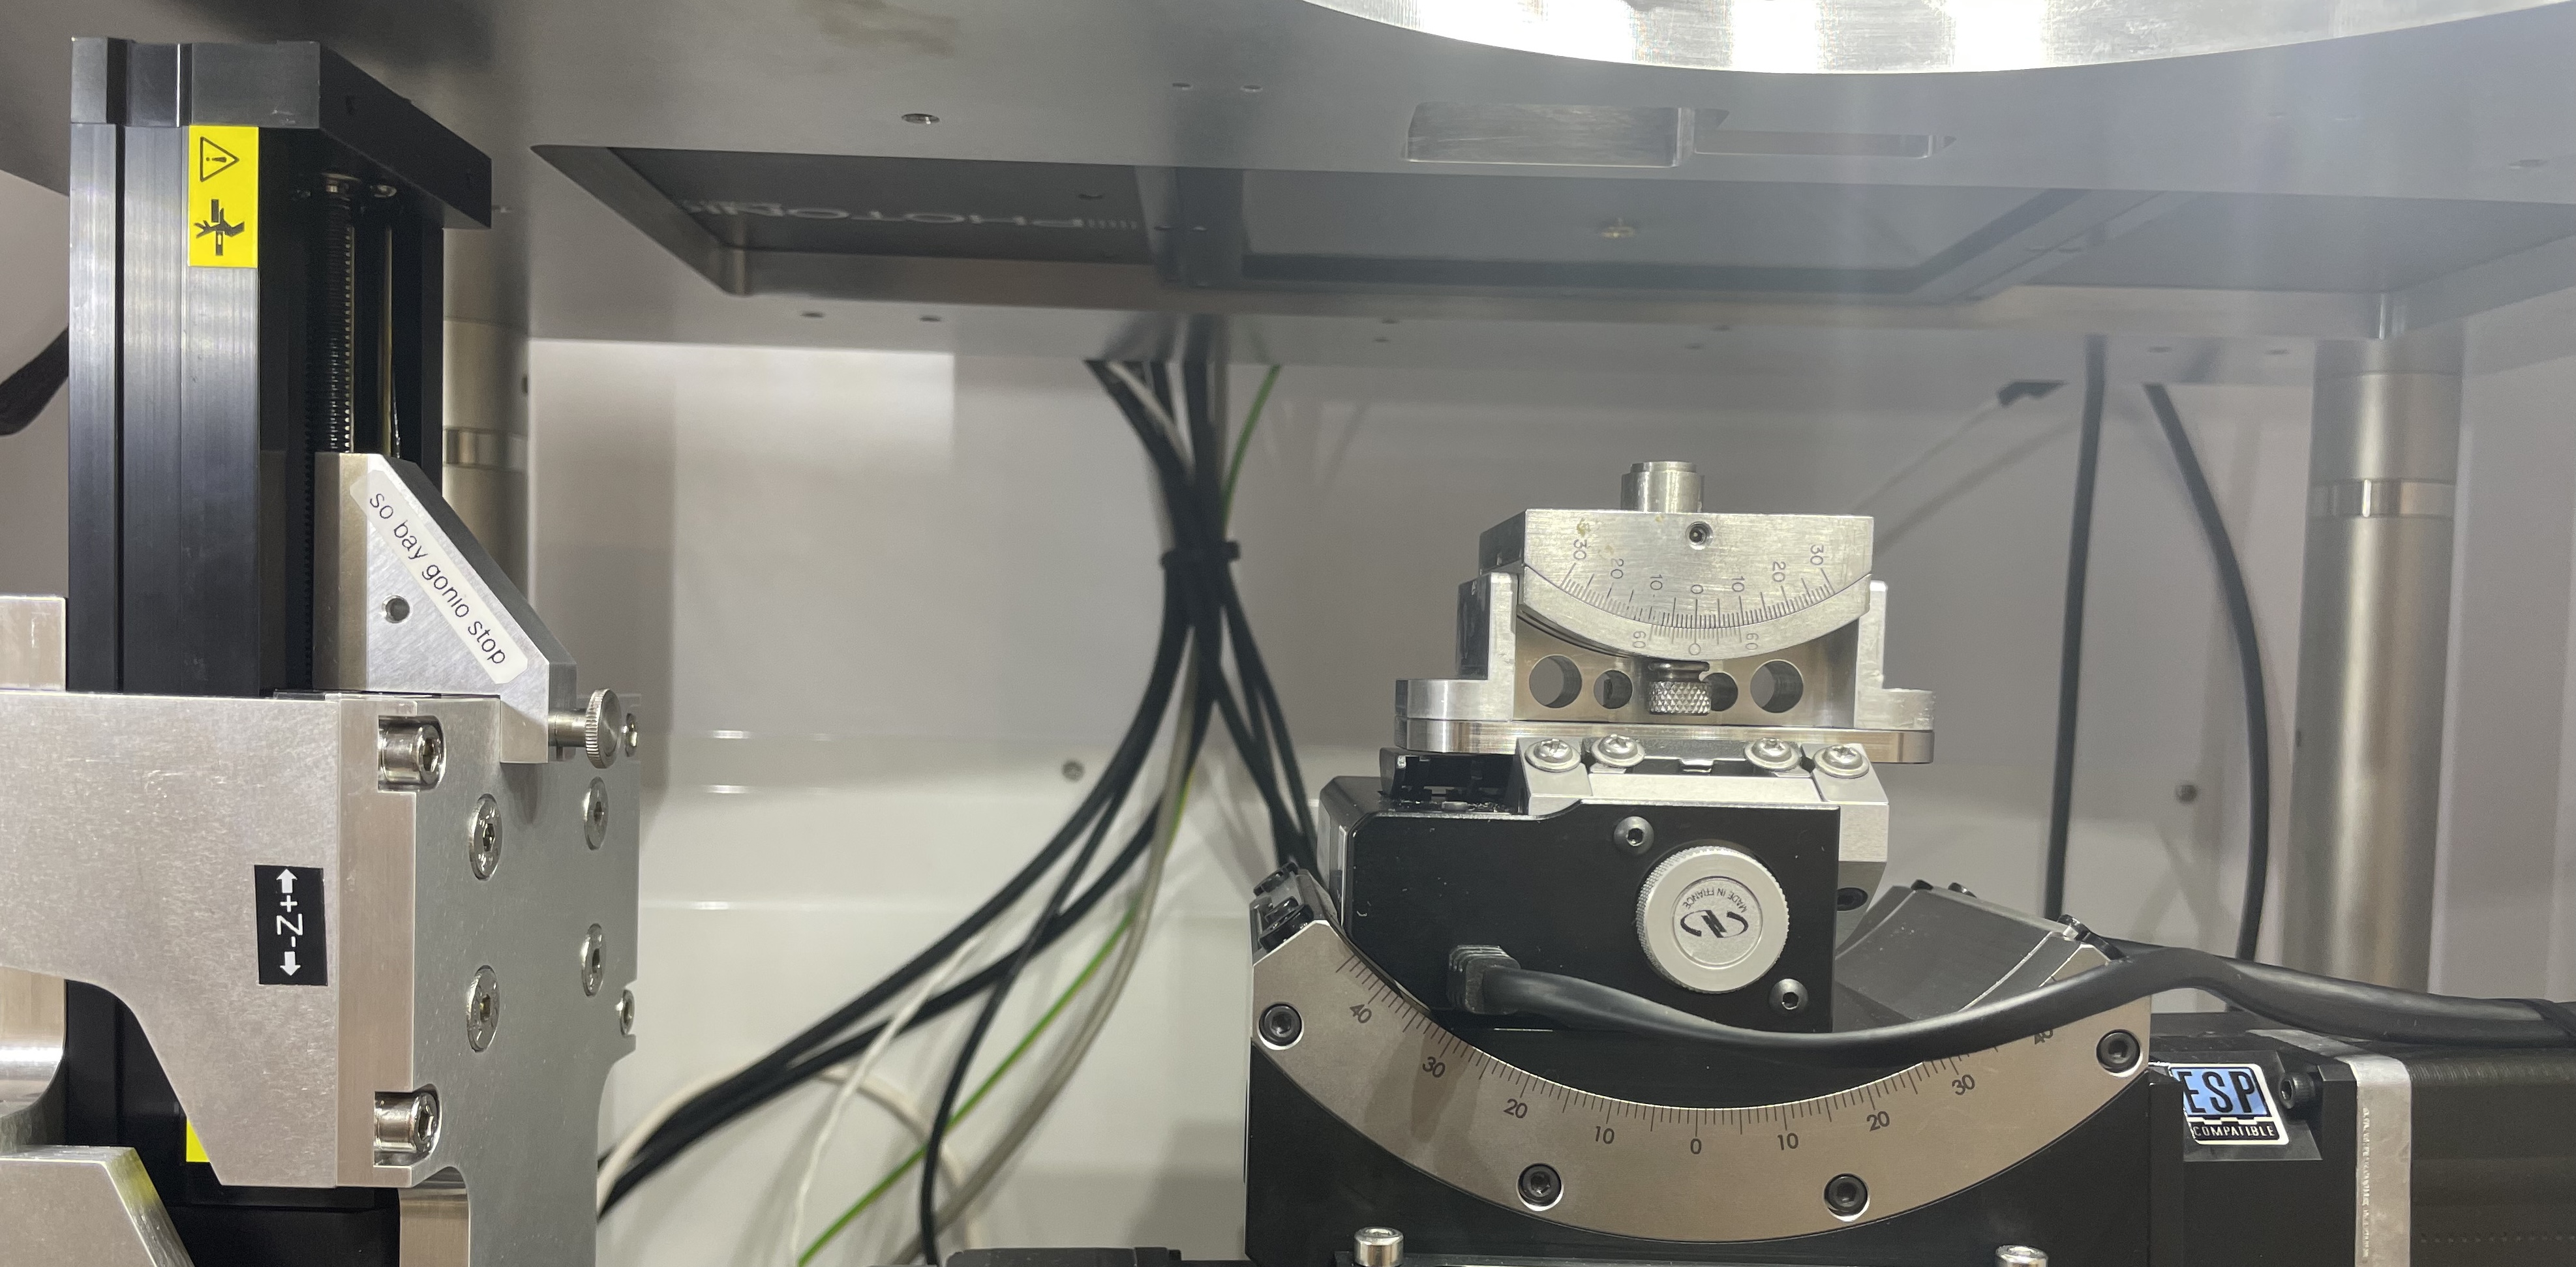
Here we cover basic usage of our new Photonic Science Grain Map Laue shown below. The manuals for the equipment are available as pdfs within the folder on the desktop of the control computer. Please keep in mind that this is a flexible set up in which different configurations can be used at the sample position. Consequently, it is possible to collide the sample stack into the camera!

- TOC
Mounting samples
-
The blue plastic cylinder sample holders are designed for samples less than about 5 mm tall. If your sample is taller than this, mount it directly onto the steel plate sample holder. If your sample is bigger than 10mm, speak to Mark so that we can ensure appropriate precautions are in place.
-
For standard operation ensure that the aluminum gonio stop is mounted onto the z-stage.
Aligning a sample
- Switch on the system power, camera power, and source power. The motor controller under the computer monitor should already be on.

- With luck, the windows you need will already be open as below. If not, open the Kevex X-ray Source Control Interface and PSViewer via the computer desktop. From PSViewer bring up the translation and rotation stage windows via PSViewer > Tools > Stage Control > Zager Stage Control and PSViewer > Tools > Stage Control > Newport Stage Control. Macro control and the distance sensor can be opened via PSViewer > Tools > Macro Control and PSViewer > Tools > Distance Sensor.

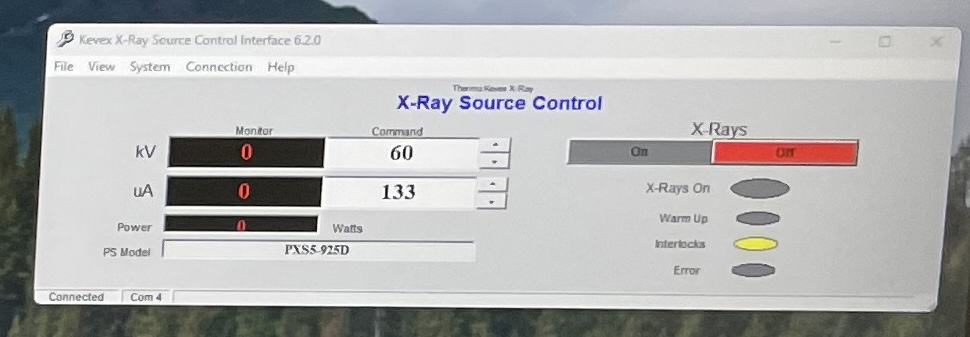
- Use the Kevex X-ray Source Control Interface and check whether the tube will switch on at 60 kV 133 uA or whether it requires Tube Conditioning. Leave the x-rays off for now unless you need to condition the tube. If you need to condition the tube run System > Pick the fastest listed conditioning option and then hit “on”.

- If necessary, home both the Zager and Newport stages via the “HOME” buttons on the motor panels. Ensure the blue plastic holder (and not the southbay goniometer) is mounted and that the aluminum gonio-stop for the blue holder is in place. Set the upper limit in z to 55 mm.
- Go to Macro Control. Load and execute the LOAD_POSITION macro from the desktop folder to move the sample stack to the front of the enclosure. Mount the sample.
- Run the VIEWCAM_POSITION macro.
- Open the small camera for viewing the sample via PSViewer > Camera > DeviceCamera and the laser distance finder via PSViewer > Tools > Distance Sensor
- Translate the sample under the laser spot. Measure the sample height with the laser. The real sample-detector distance will be the measured distance plus 7.8 mm, so setting a height of 32.2 mm will give a standard 40 mm sample-detector distance.
- Run the LAUE_POSITION_REL macro (which is in the deskop folder) to move the desired spot under the x-rays.
Measure a sample
- Align the sample as described in the Aligning a sample section above.
- Set 60 keV 133 mA on the Kevex X-ray Source Control Interface.
- Open PSViewer > Camera > DualFHS. Start with, for example, 5x5 binning and 2 s exposure. From here, you are free to explore the sample alignment and uniformity.
- Sample rotations are available via the NEWPORT motor panel.
Raster scan a sample
If desired, one can systematically raster scan a sample. Download our code here and copy it to a new folder in My Documents. Open PowerShell, navigate to the folder in question, run conda activate main, and jupyter lab .
Setup.ipynb
Generate files to perform a grid scan
- coords.text - X, Y points to scan
- scan.txt - macro to execute scan
- LaueSubmacro.txt - helper file defining how to save images
View.ipynb
- Explore images
Software
As well as the software that comes with the Laue system itself, the SingleCrystal software from the CrystalMaker company is also available to group members.
Southbay goniometer
With permission from Mark, it is also possible to mount the Southbay goniometer for polishing or cutting. In this case, it is vial to carefully set the hard and soft limits to preclude any chance of collisions. To do this, put the aluminum gonio-stop for the Southbay in place. and reinitialize the Zaber stage and set the upper limit in z to 43 mm.
